Acne & Oily Skin
July 29, 2025
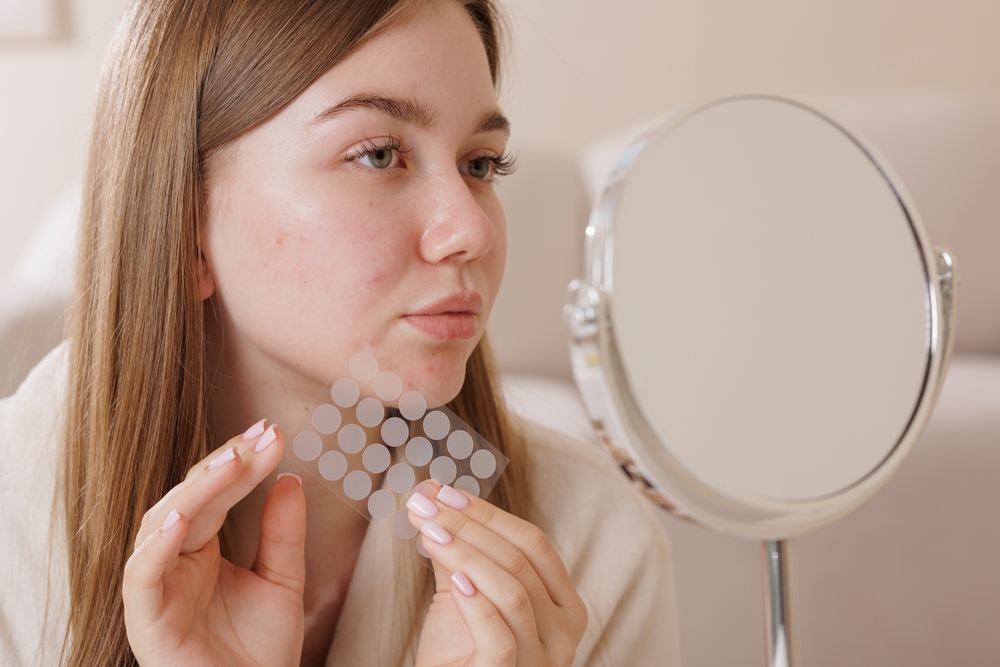
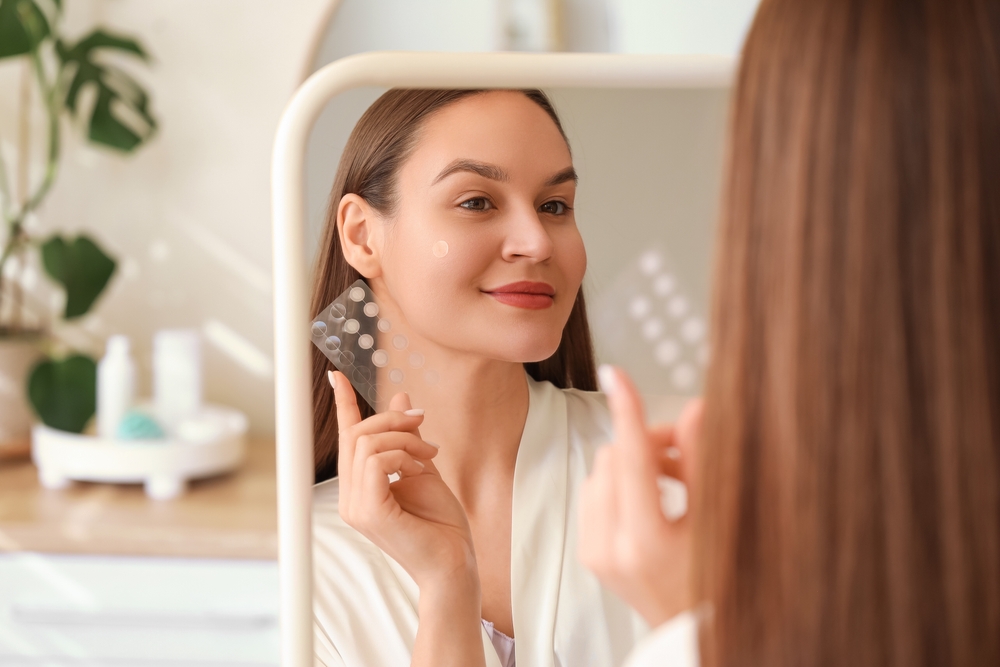
When to Put on a Pimple Patch and How to Choose
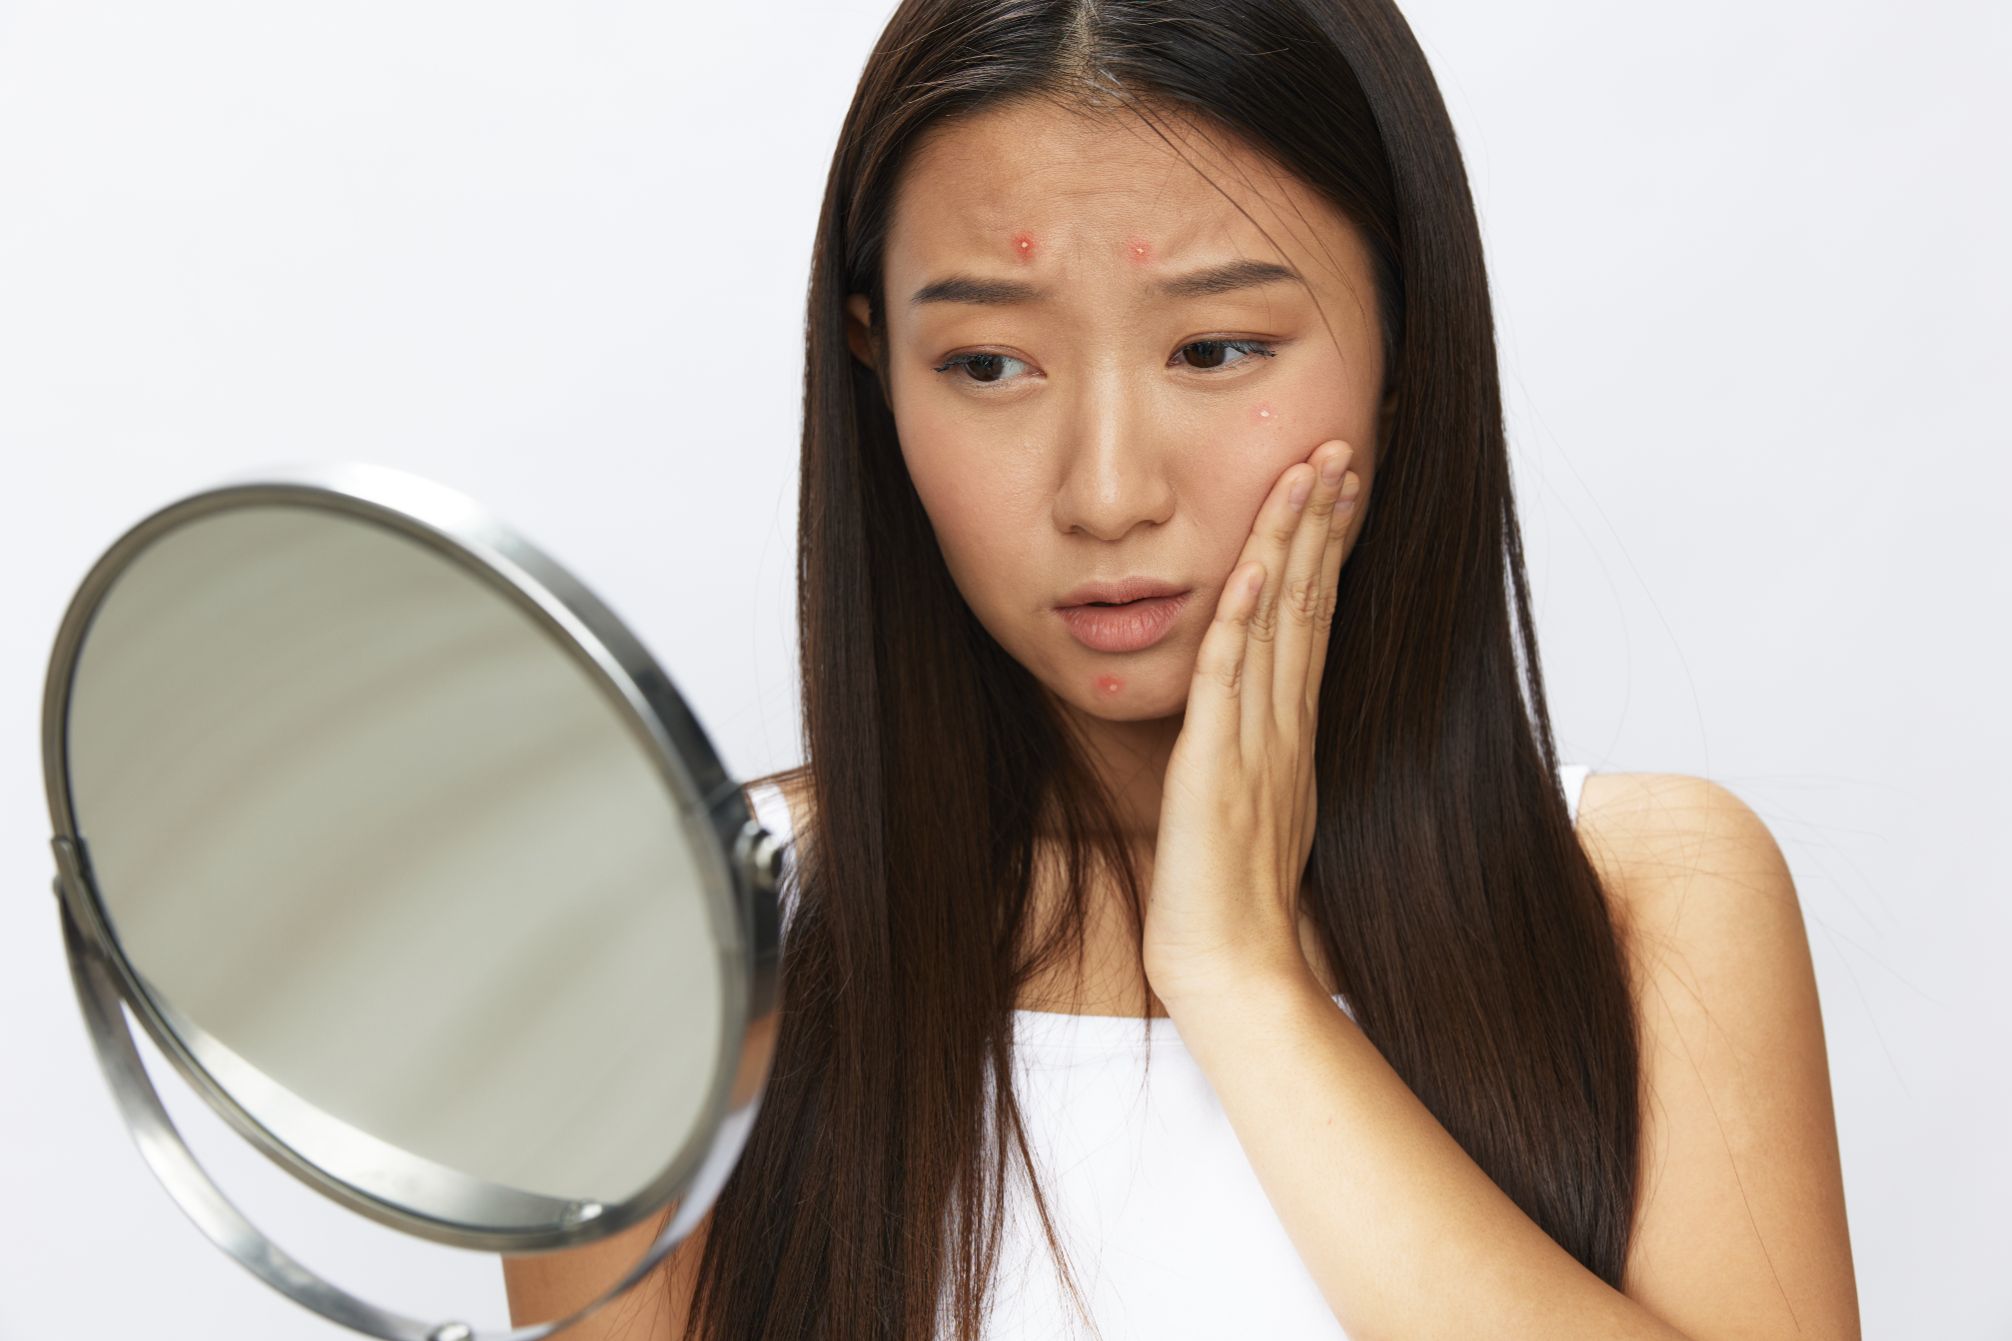
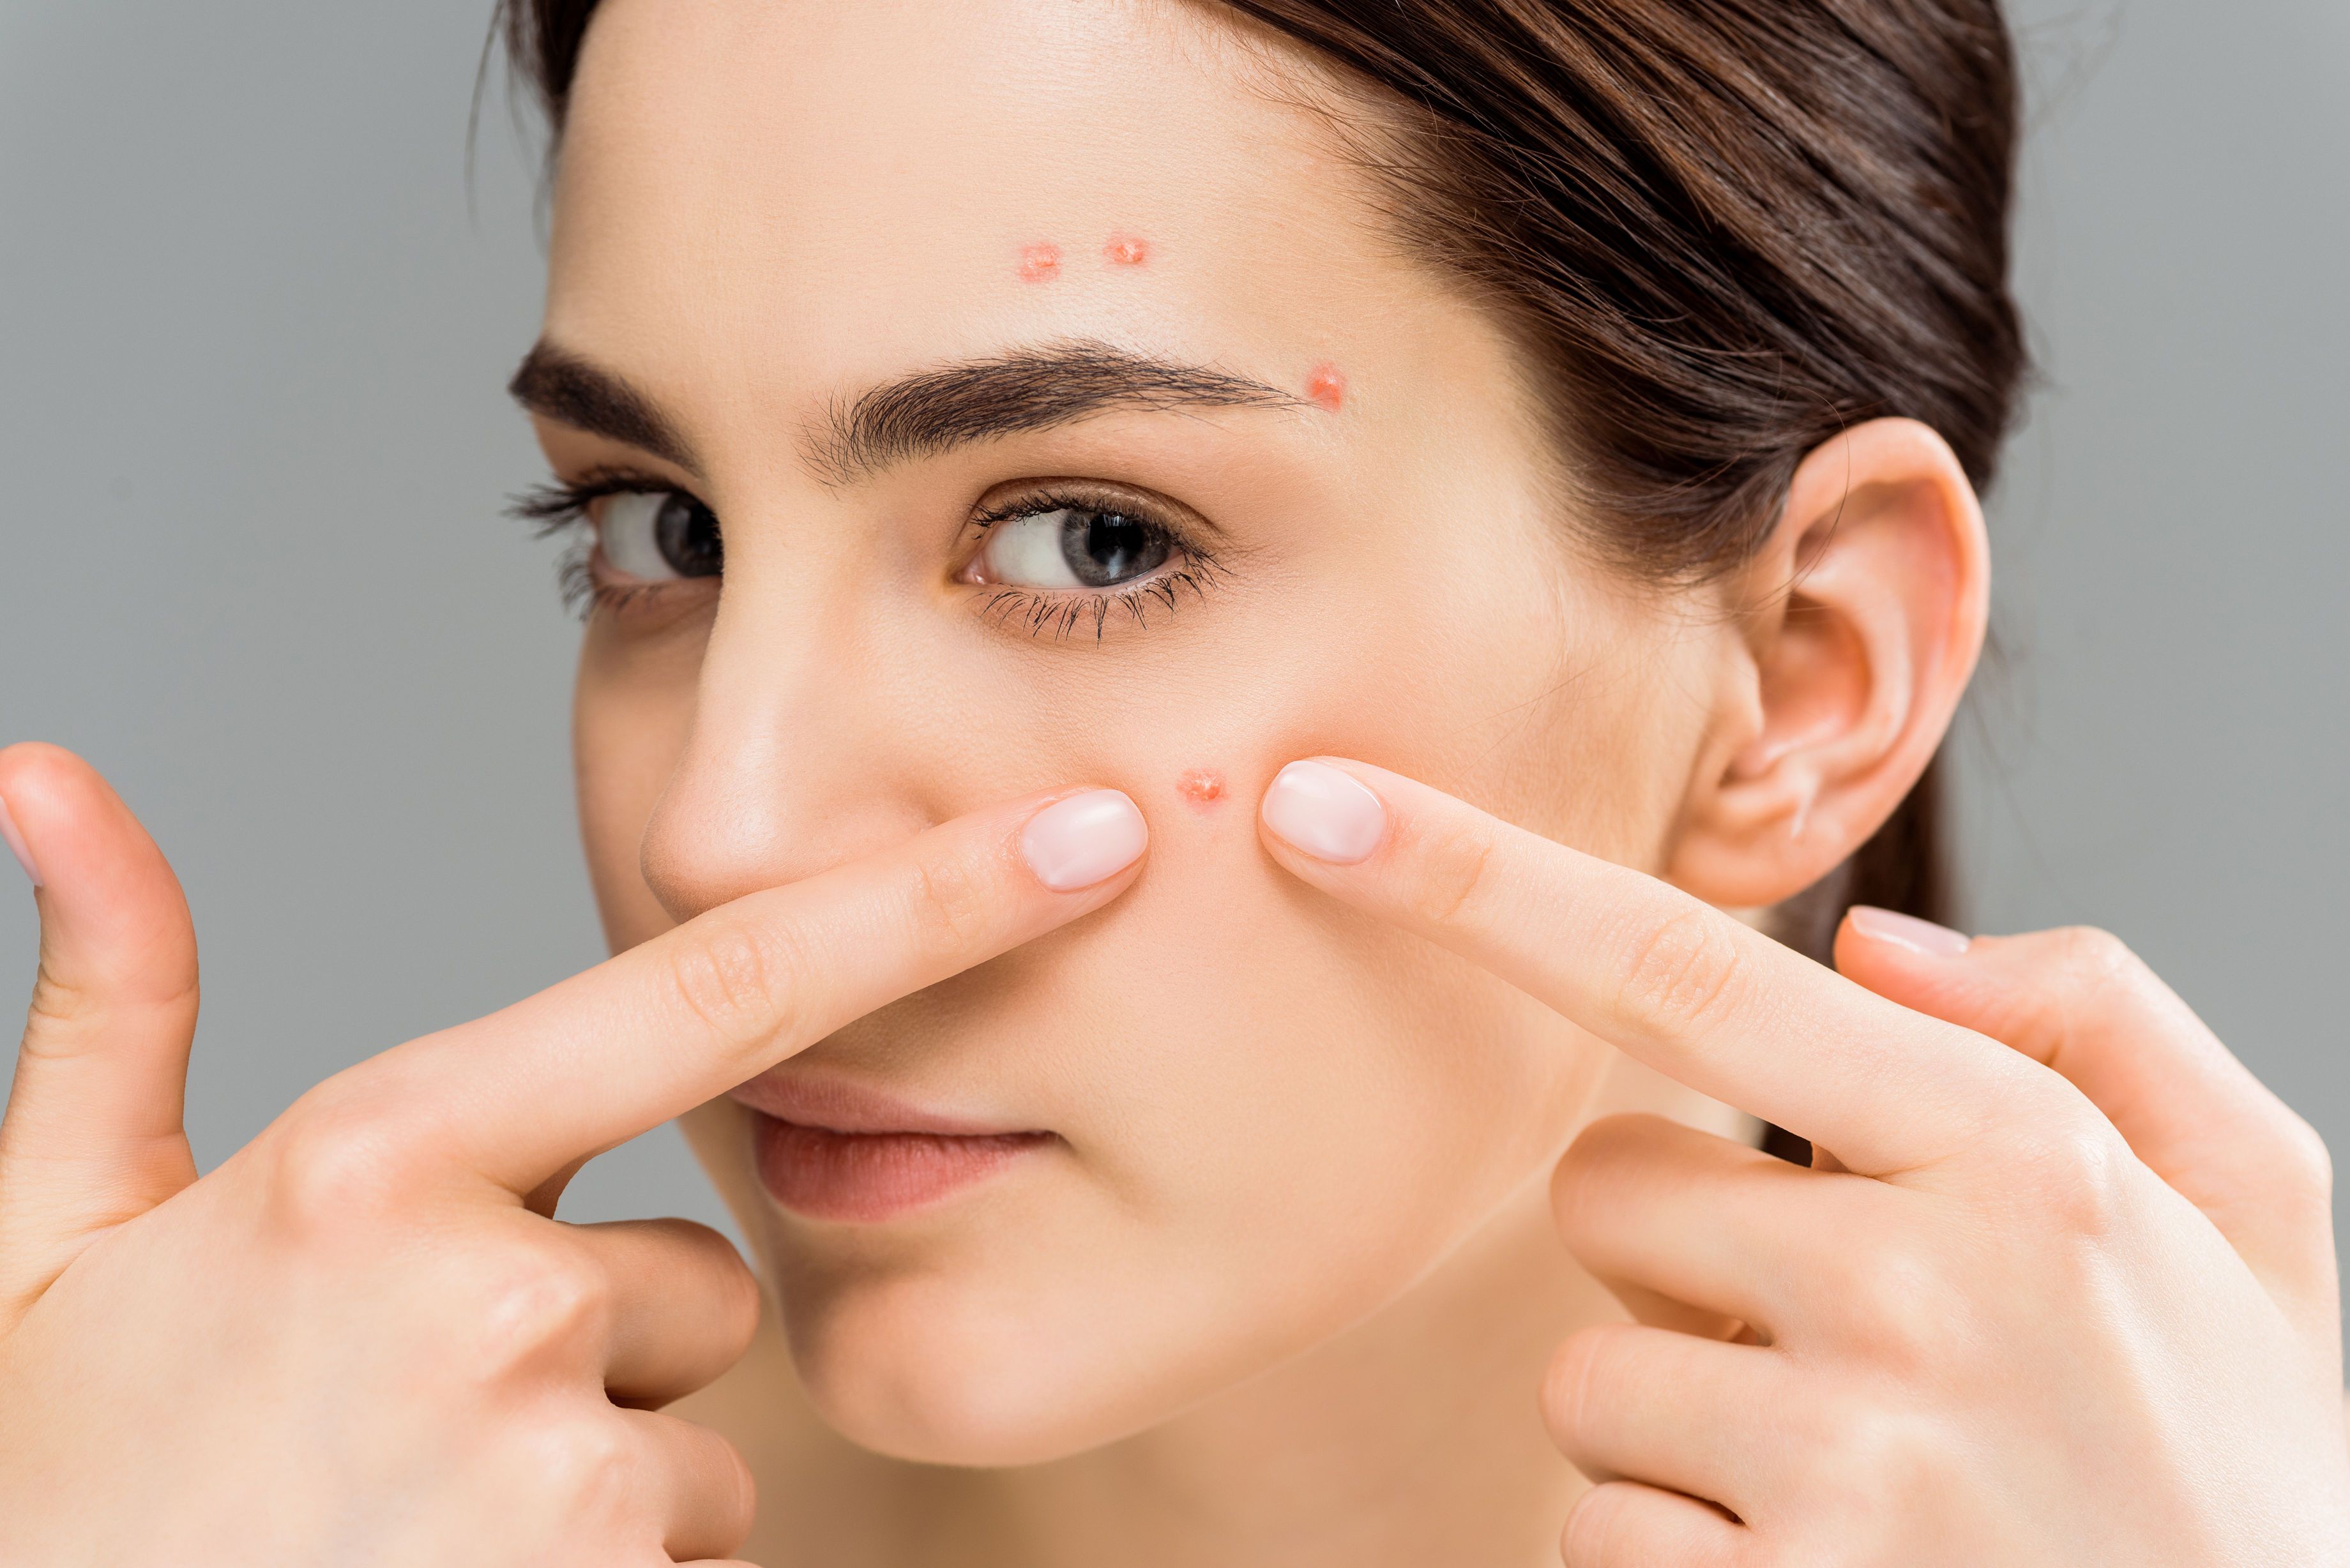
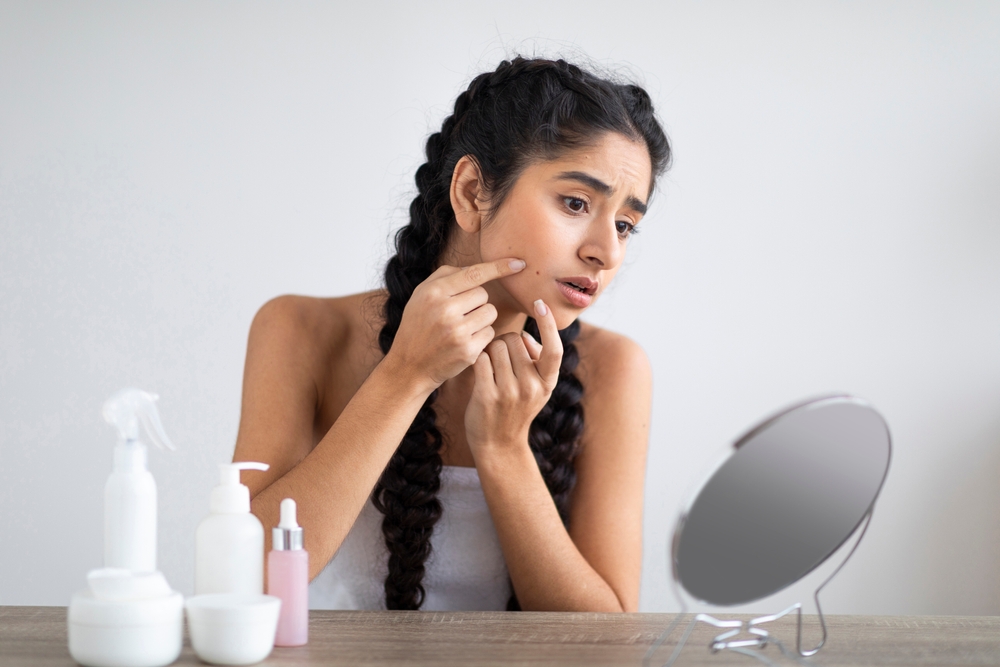
Let’s be honest – dealing with pimples is nothing but a hassle, whether they’re red and inflamed or just lingering around begging for attention. Fortunately, pimple patches are here to save the day.
But with so many options on the market, and with so many questions about what’s actually inside them, it can feel tricky to figure out what’s best for your skin. Don’t stress – in this blog, we’ll cover the ins and outs of pimple patches, when to slap one on, and how to pick the right one for your situation.
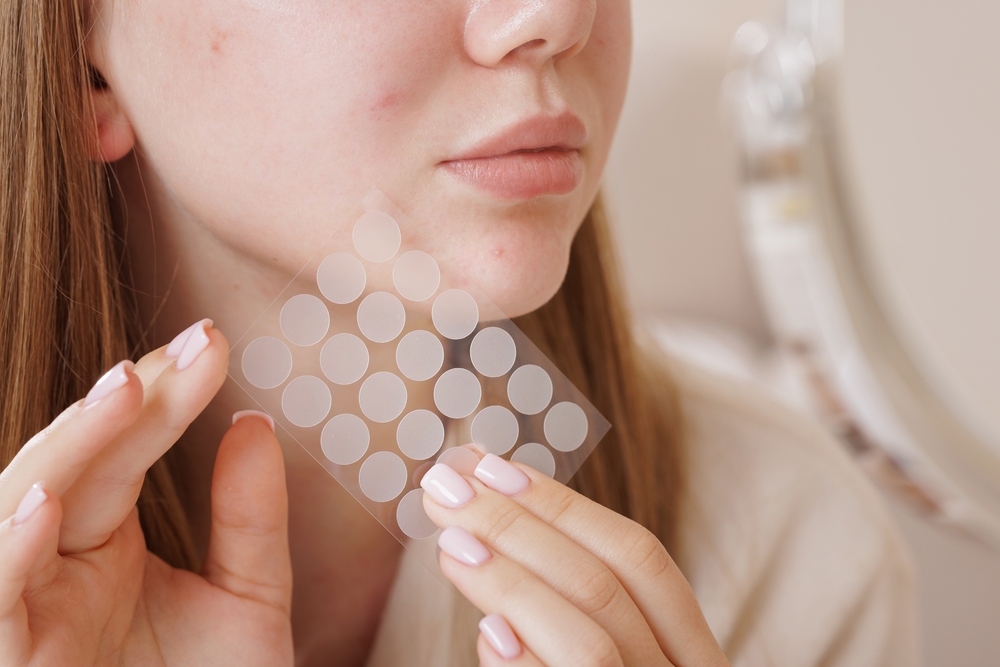
What Is In A Pimple Patch?
Let’s cut to the chase: what’s in a pimple patch? At its core, most pimple patches are made of hydrocolloid, a clever moisture-retentive material that was originally used for wound care in hospitals. Hydrocolloid absorbs all the gunk – pus, oils, and impurities – while forming a protective barrier over your pimple. It keeps out bacteria and prevents friction, giving your skin the chance to heal without interference.
But that’s not all! These days, many pimple patches come with added ingredients, giving them an extra boost of power. Here’s the rundown on some of the common activities you’ll find:
- Salicylic Acid: This exfoliating ingredient clears out clogged pores, helping pimples settle down faster.
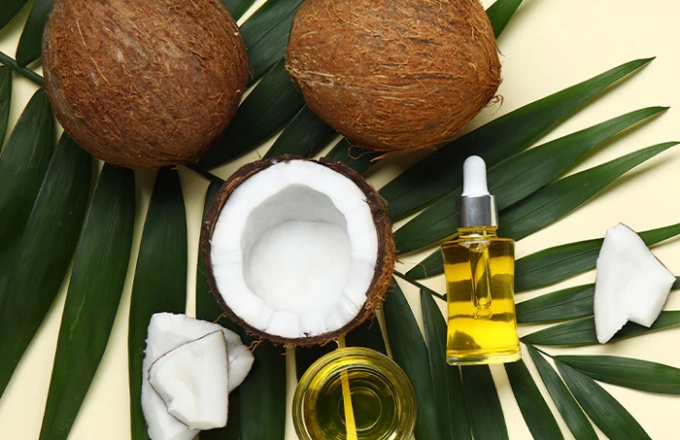
- Tea Tree Oil: Known for its antibacterial properties, this natural oil can soothe and calm irritated skin.
- Tranexamic Acid or Vitamin C: Helps fade dark spots and post-acne marks by targeting skin discoloration.
So, whether you’re after a simple hydrocolloid patch or something a little more jazzed-up, there’s a perfect patch out there for every type of blemish.
Types of Pimple Patches: Differences in Ingredients and Applications
Now, how do you know which one is right for you? Let’s break it down into three main categories:
Medical-Grade Hydrocolloid Patches
- These are made with pure hydrocolloid, no skincare ingredients added.
- Best for whiteheads or pus-filled pimples, as these patches are excellent at absorbing impurities and promoting faster healing.
- Perfect if your skin tends to be sensitive or you prefer to keep things simple.
Formulated Hydrocolloid Patches
- These patches contain extras like salicylic acid, tea tree oil, or even brightening tranexamic acid.
- Ideal for inflamed pimples or post-acne care, since the added active ingredients help soothe irritation, support healing, and restore the skin barrier.
- If your breakout looks red, swollen, or painful, these patches are the way to go.
Microdart Patches
- Microdart patches use dissolvable microneedles to deliver active ingredients deep into the skin.
- Best for early-stage, deep, or cystic acne, where the usual surface treatment won’t cut it.
- Think of these as your go-to for stopping deep blemishes before they fully form.
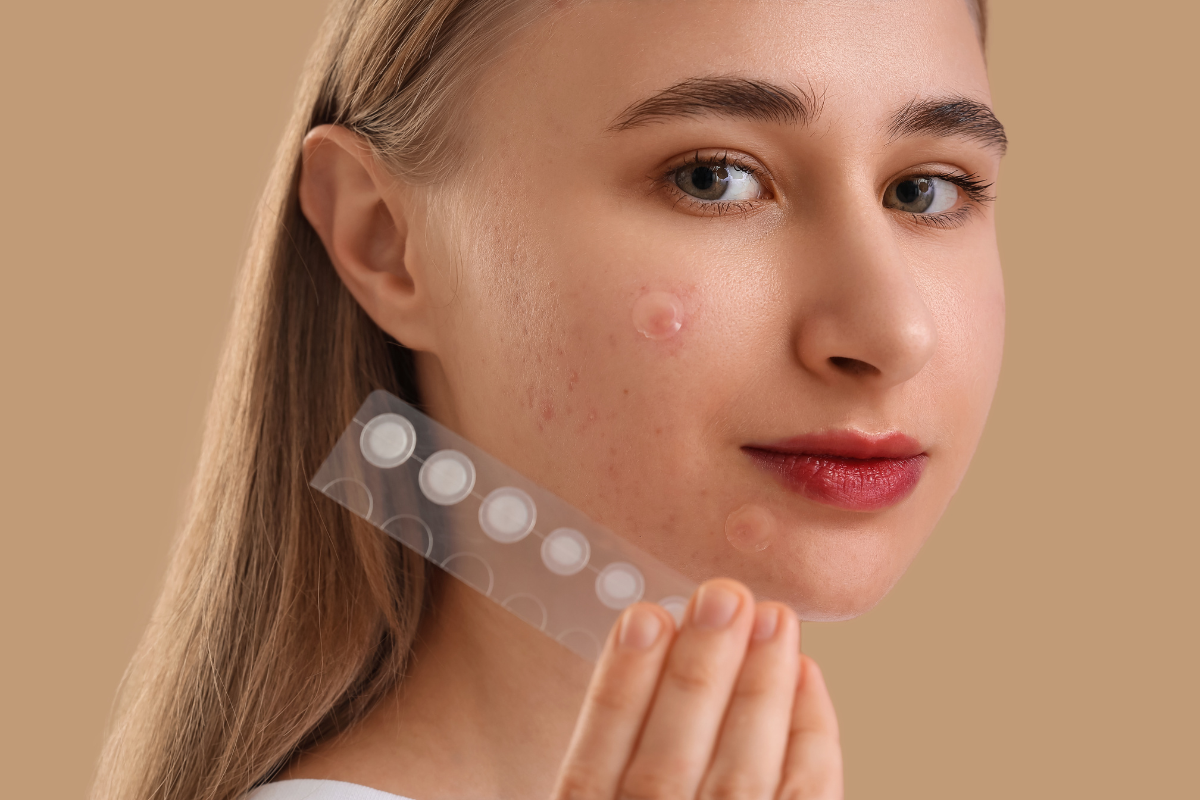
When to Put on a Pimple Patch for Maximum Effectiveness
Timing is everything, and this is so true when it comes to using pimple patches. Here’s how to match your pimple’s stage with the patch type for the best results:
Early-Stage (Red and Swollen)
If your pimple is just getting started – it’s red, swollen, and feels a bit sore – you want a patch that fights inflammation. Opt for a formulated hydrocolloid patch or a microdart patch infused with actives like salicylic acid or tea tree oil. These ingredients will help reduce the swelling and unclog pores before the pimple grows bigger.
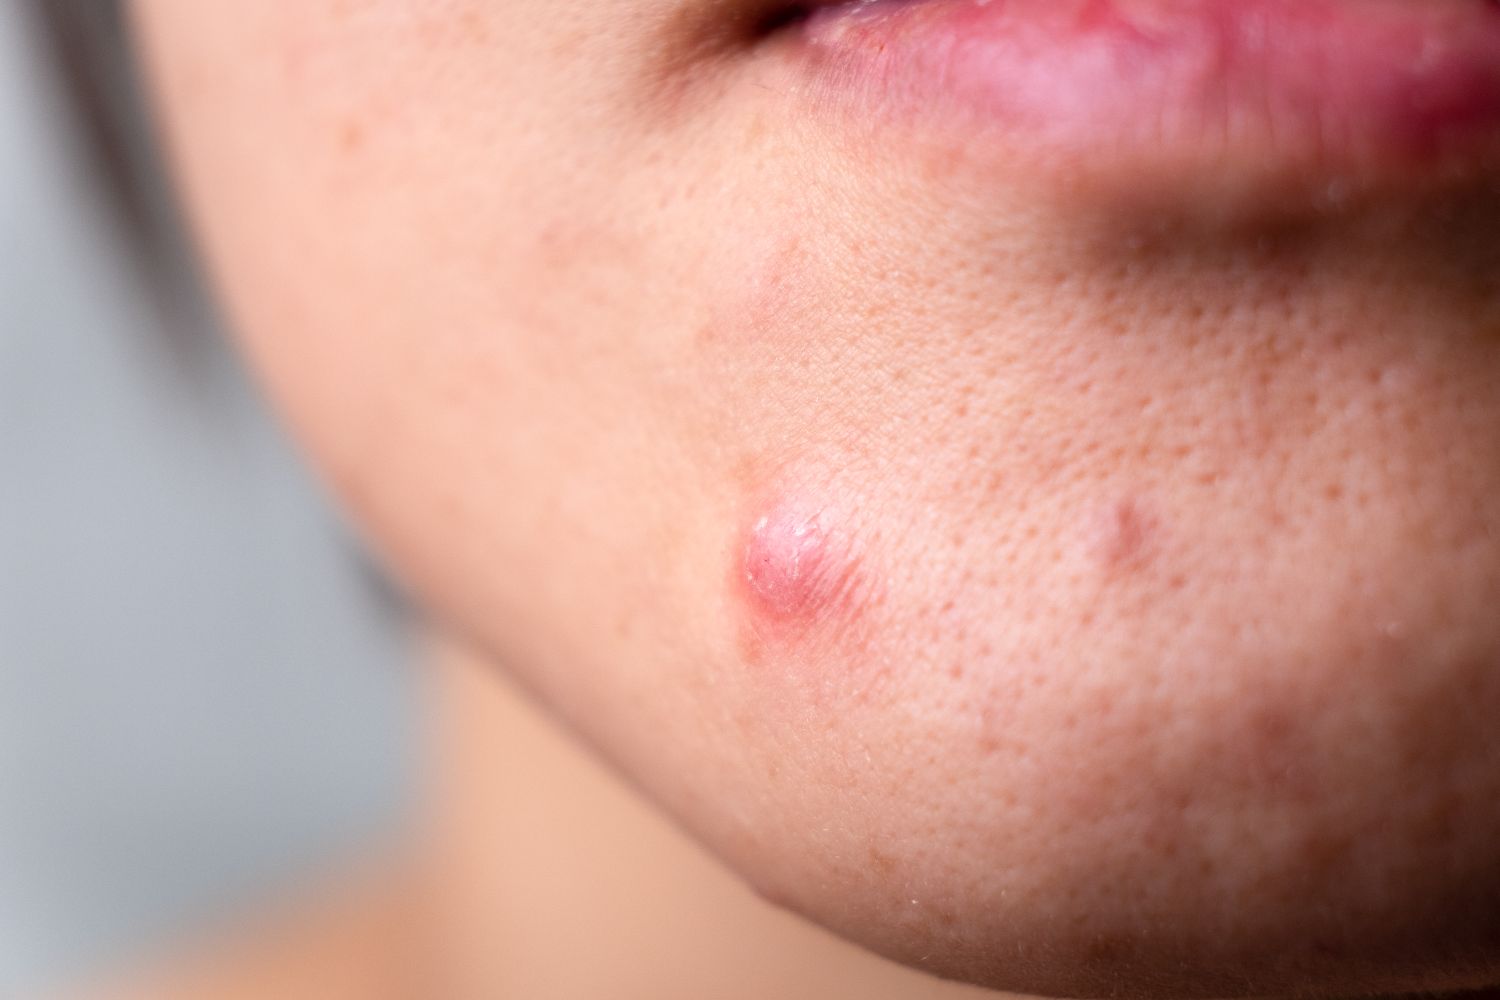
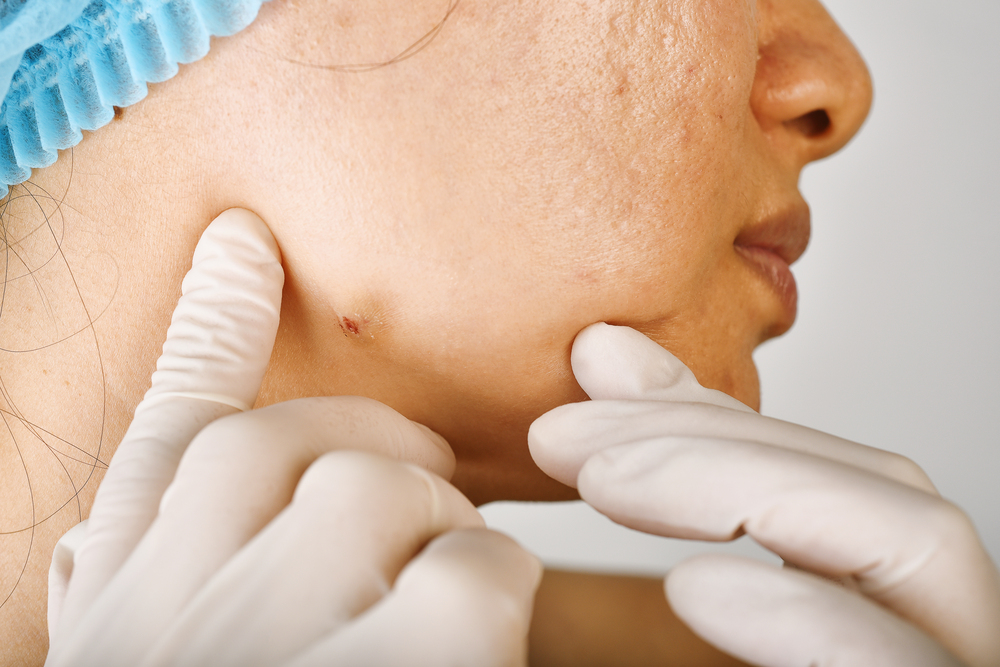
Whiteheads & Pus-Filled Pimples
Once your pimple becomes filled with pus, grab a medical-grade hydrocolloid patch. These are pros at pulling out the impurities, which leaves the area cleaner and accelerates the healing process. Just let the patch sit until it turns white – that’s a sign it’s done absorbing all the gunk.
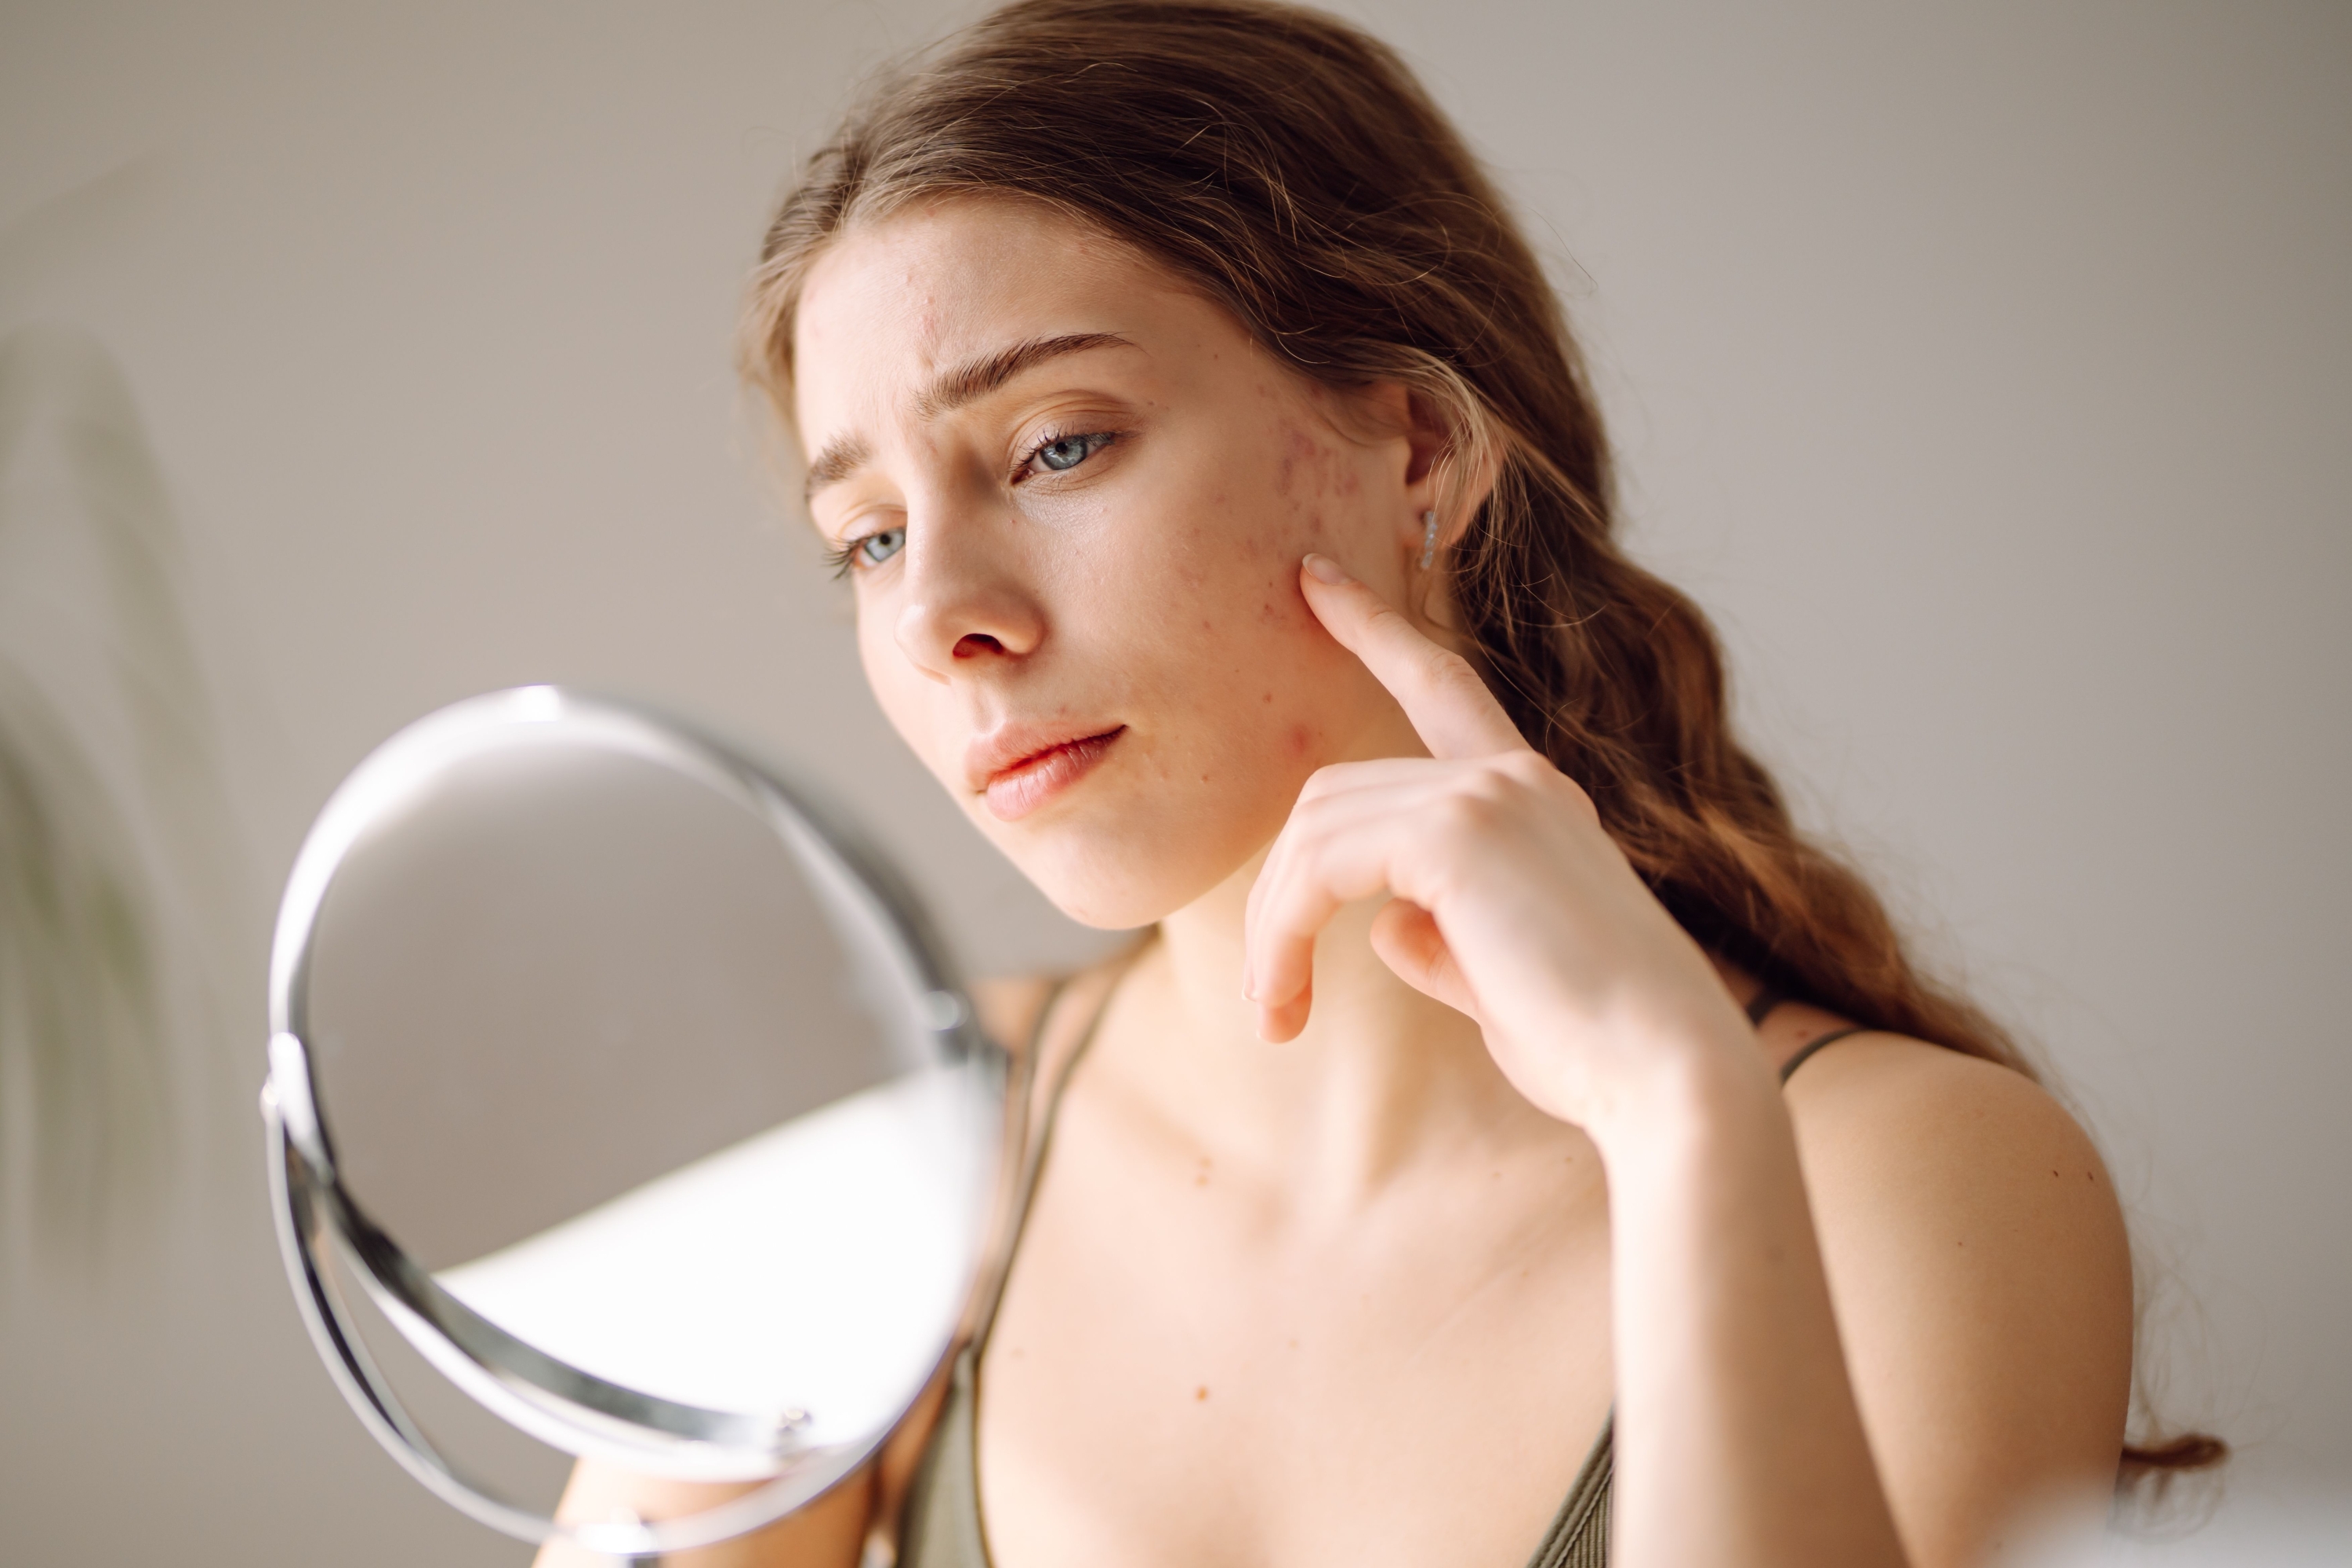
Healing Stage (Post-Acne Wounds or Dark Spots)
The pimple’s gone, but you’ve been left with a pesky mark or healing wound. Go ahead and use formulated patches with ingredients like tranexamic acid. These ingredients help reduce pigmentation and support the skin’s recovery, restoring a clear, healthy complexion.
Again, no matter what stage your pimple is in, there’s a patch that fits the bill!
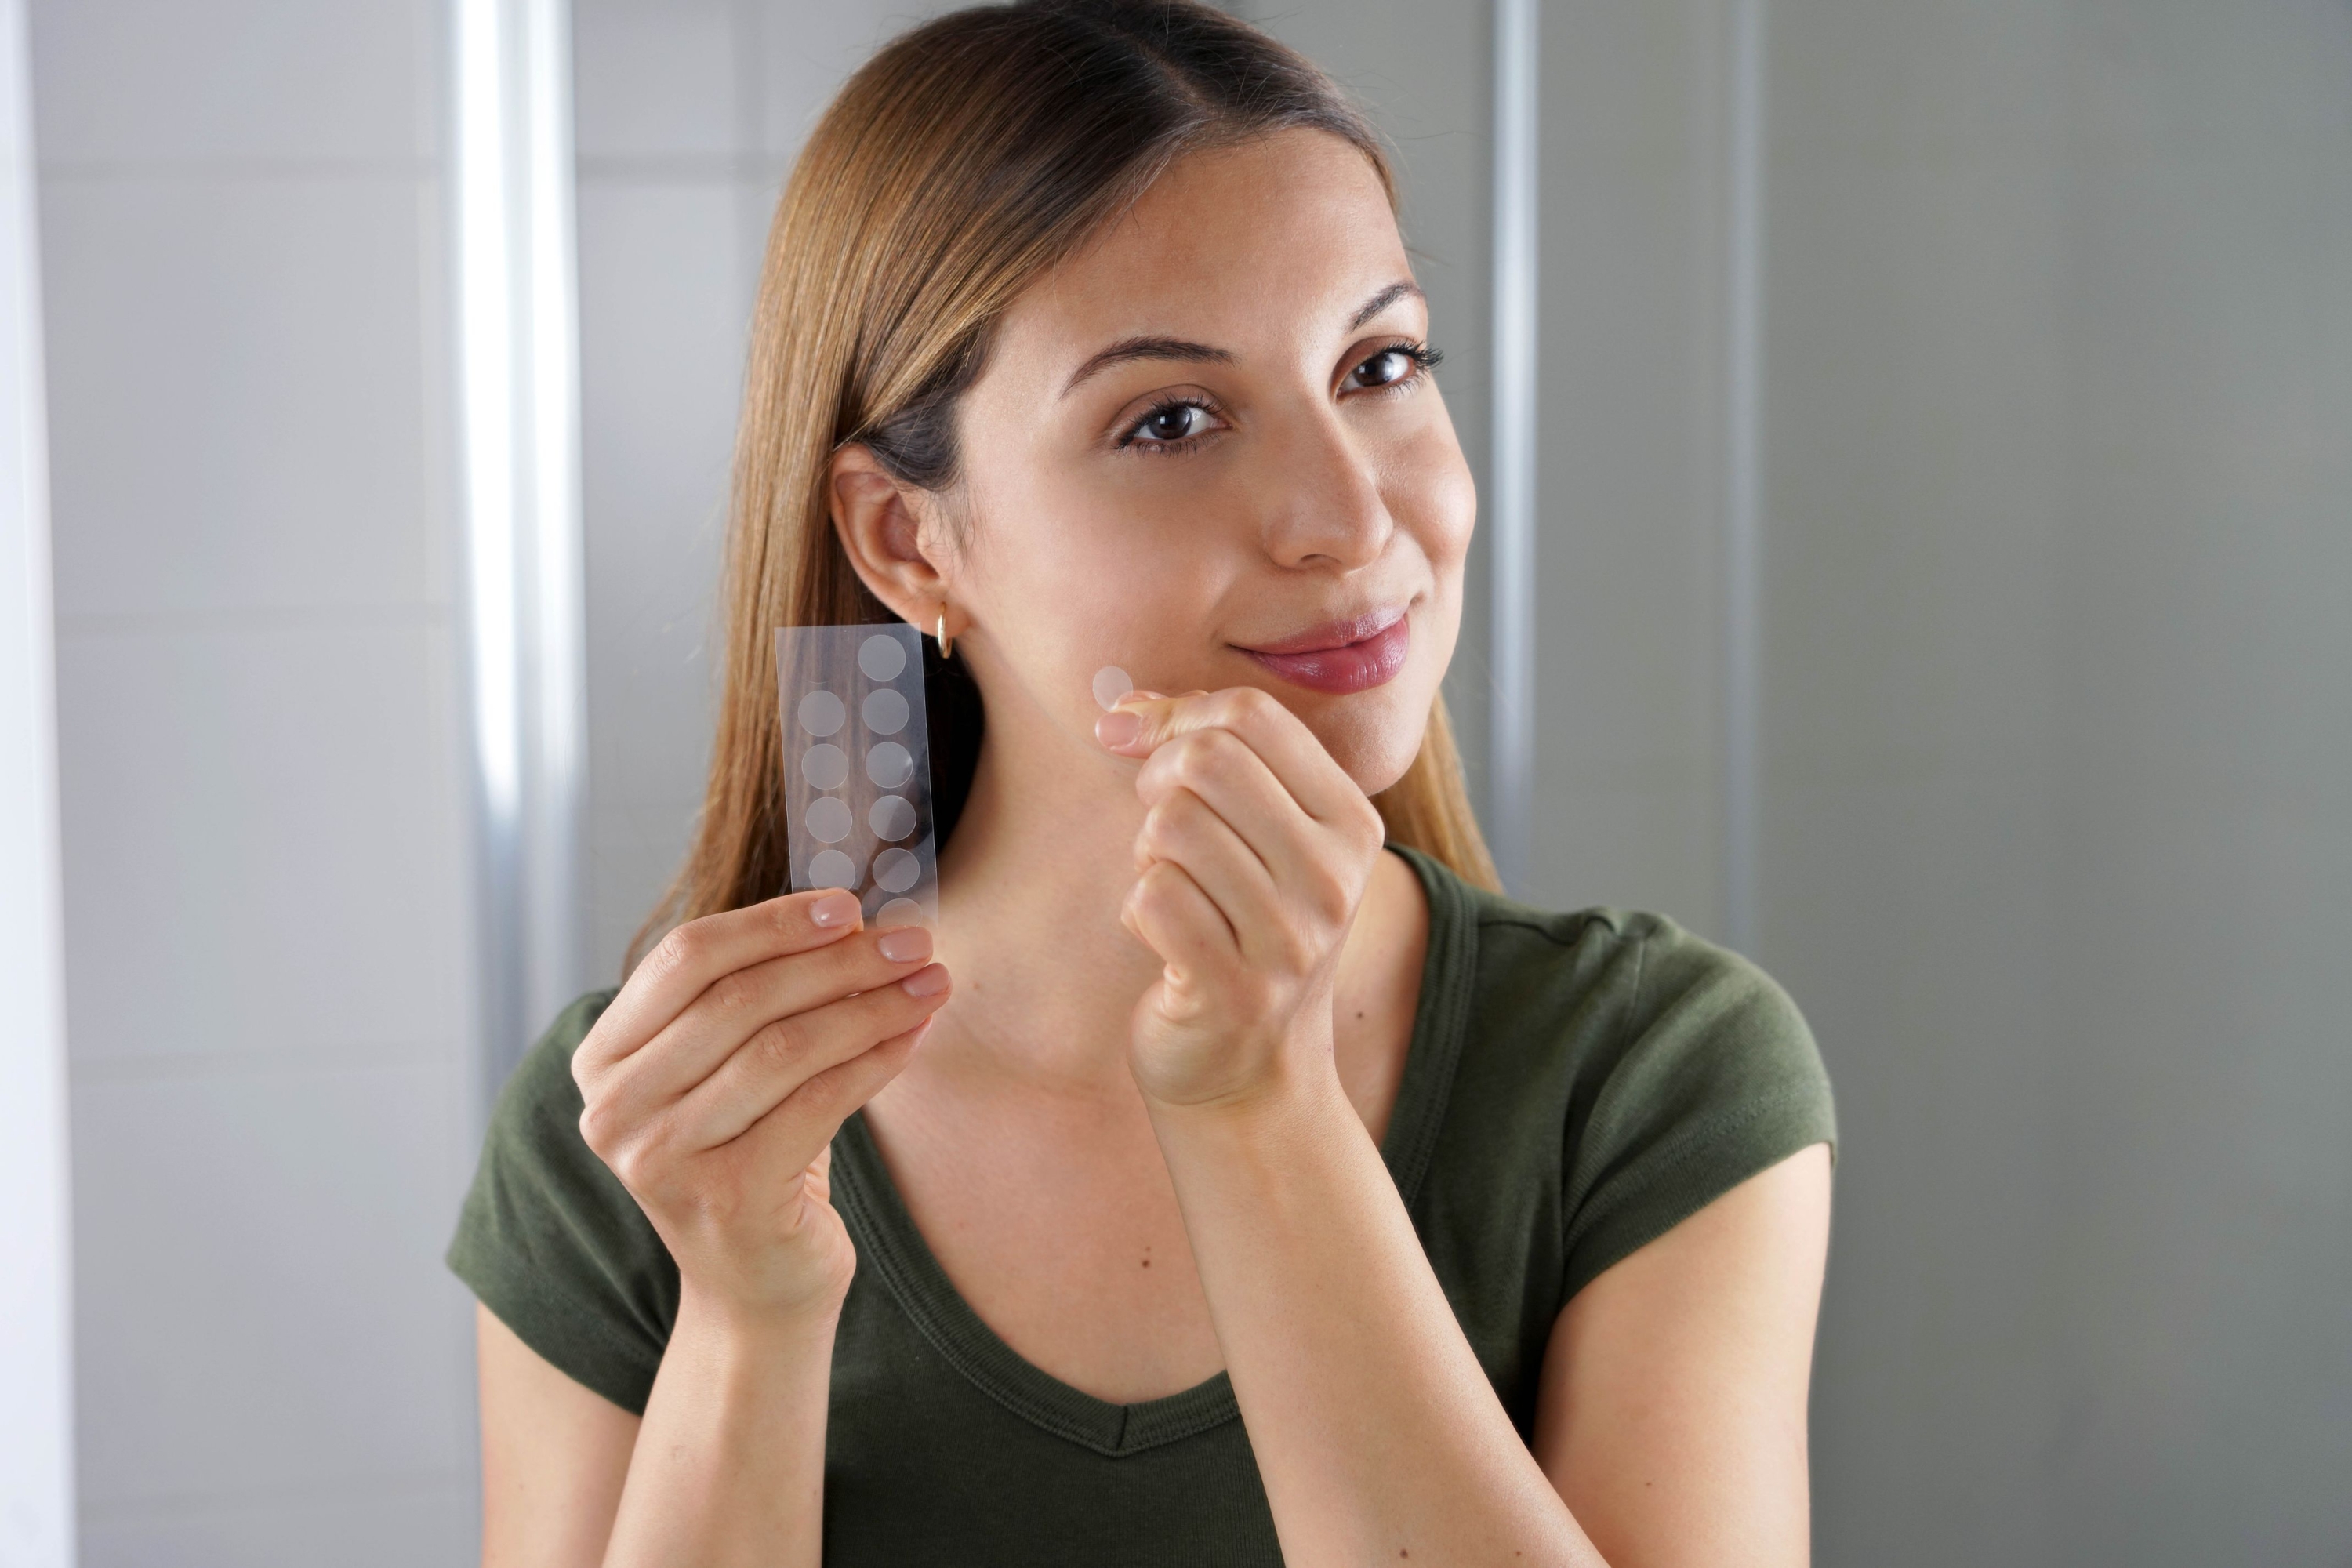
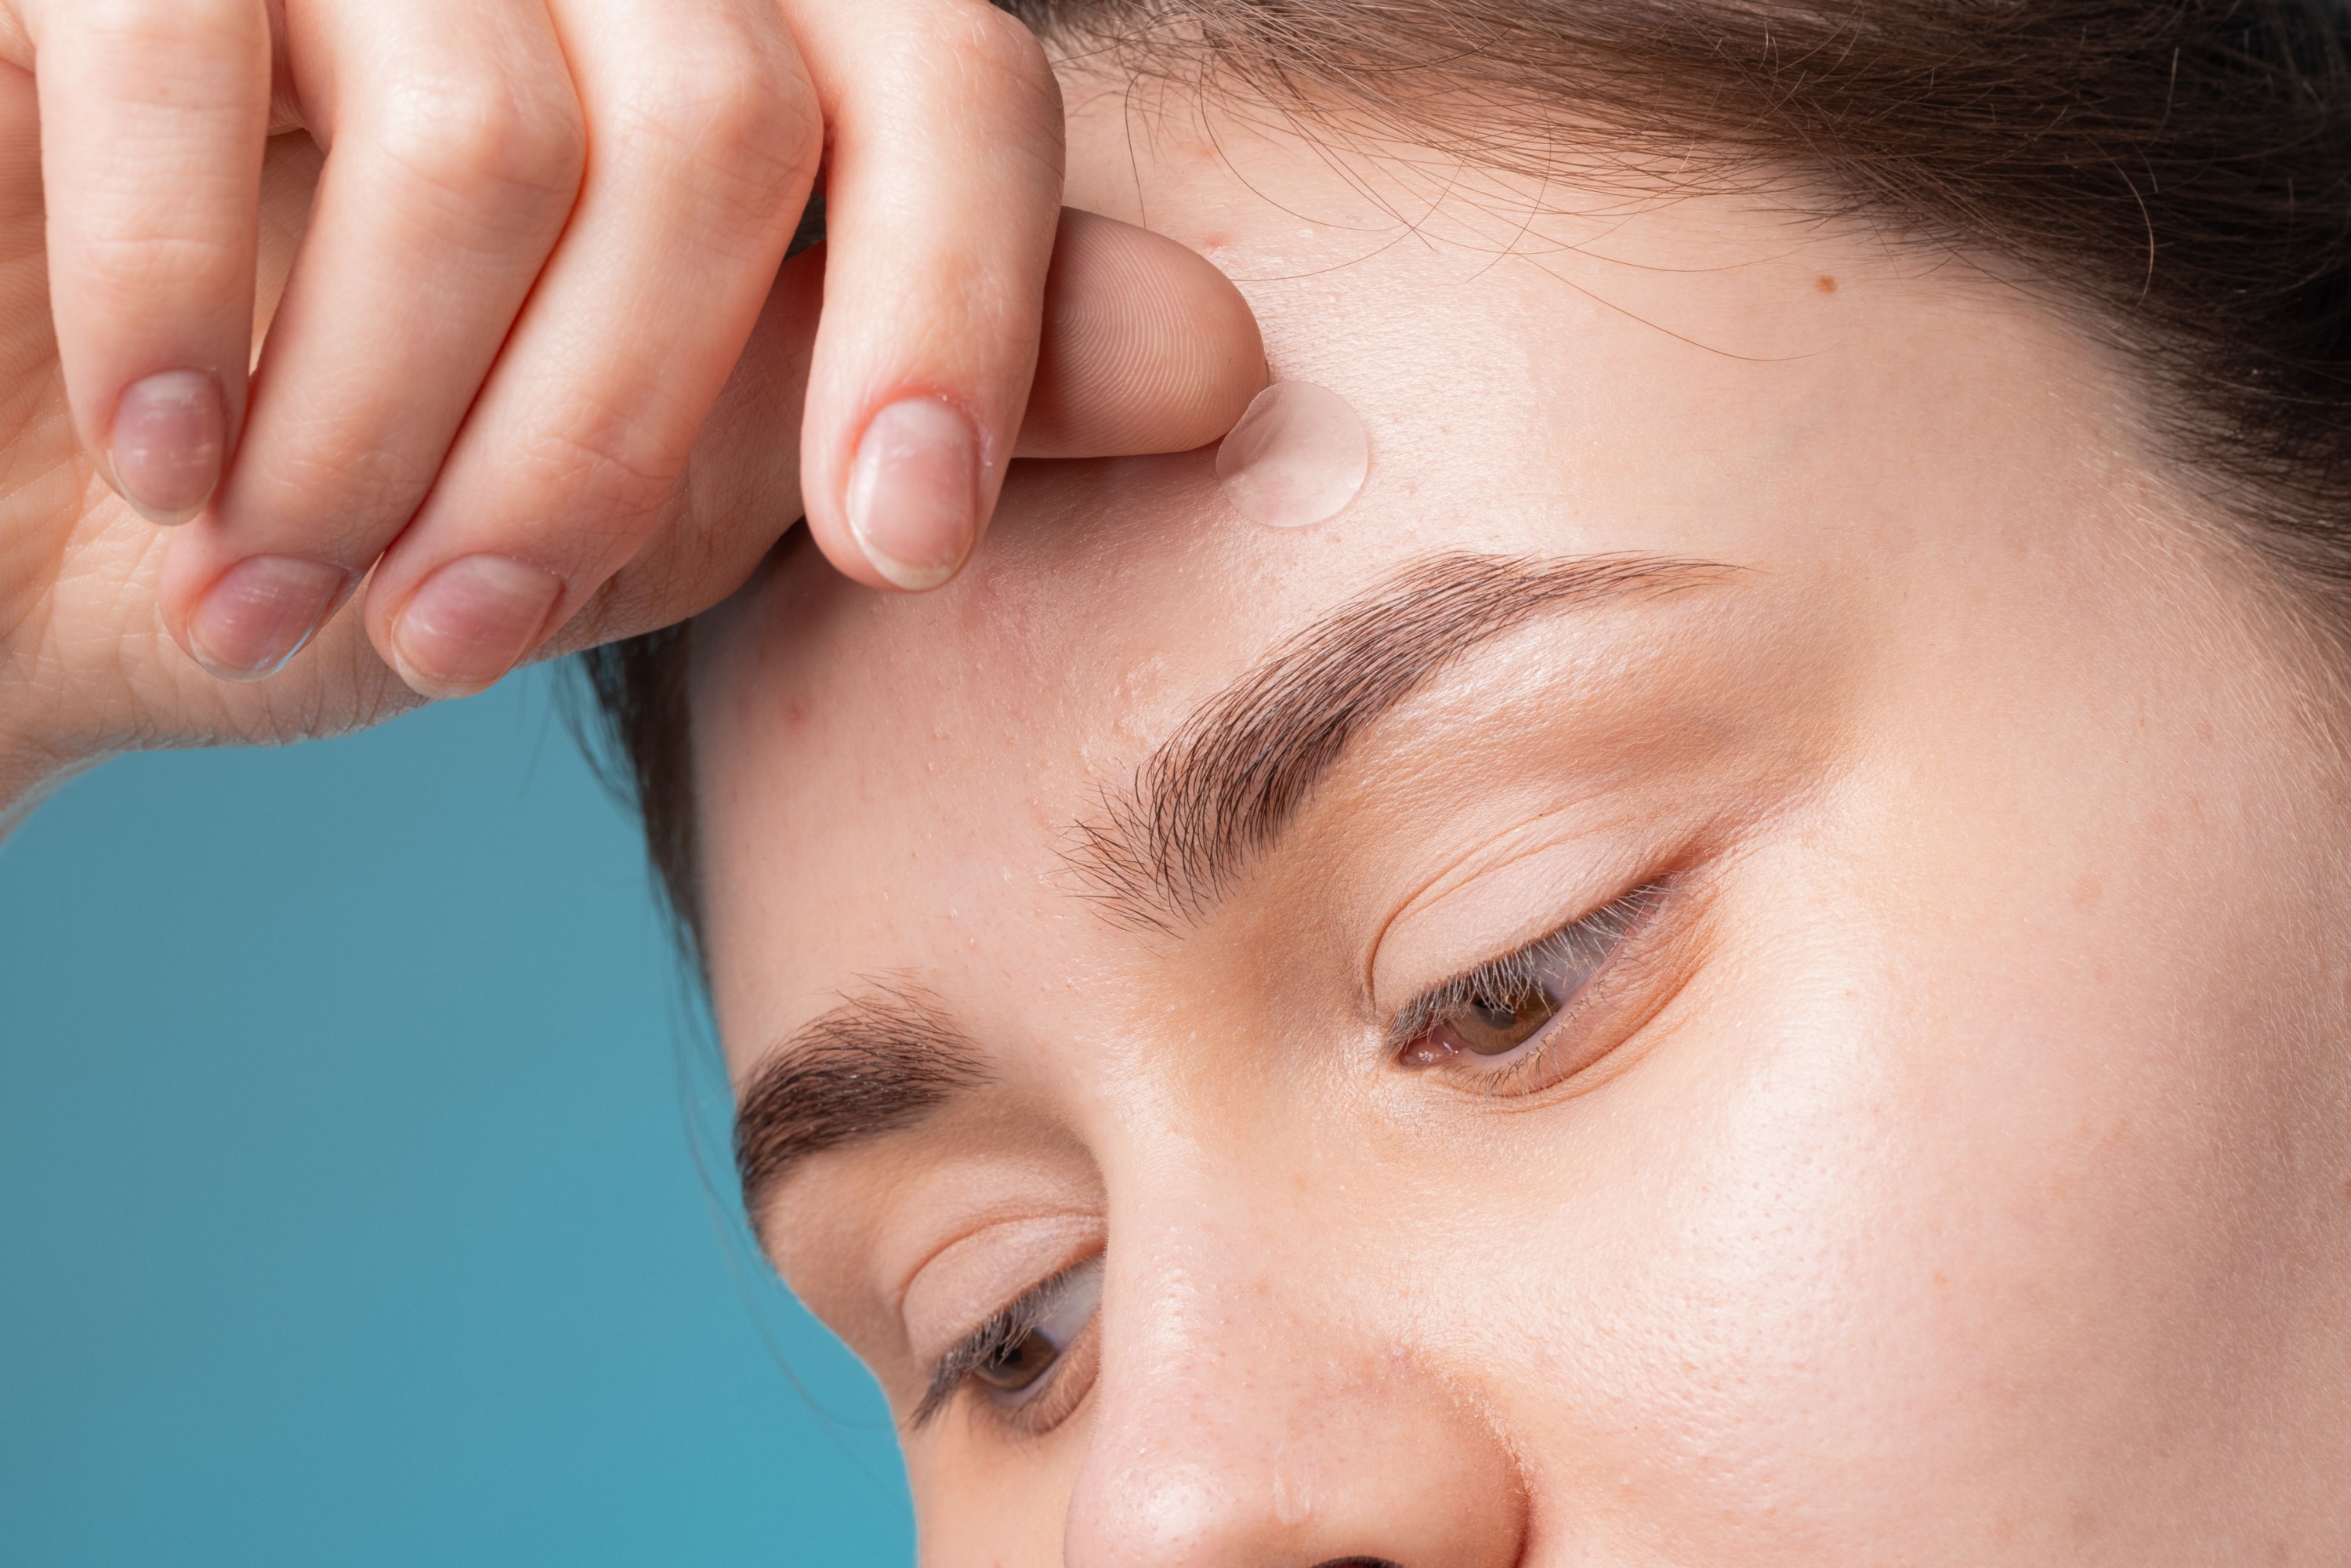
How to Use a Pimple Patch: Step-by-Step Guide
Using a pimple patch is easy-peasy – but there are a few tips to make sure you get the most out of it. Follow this step-by-step guide:
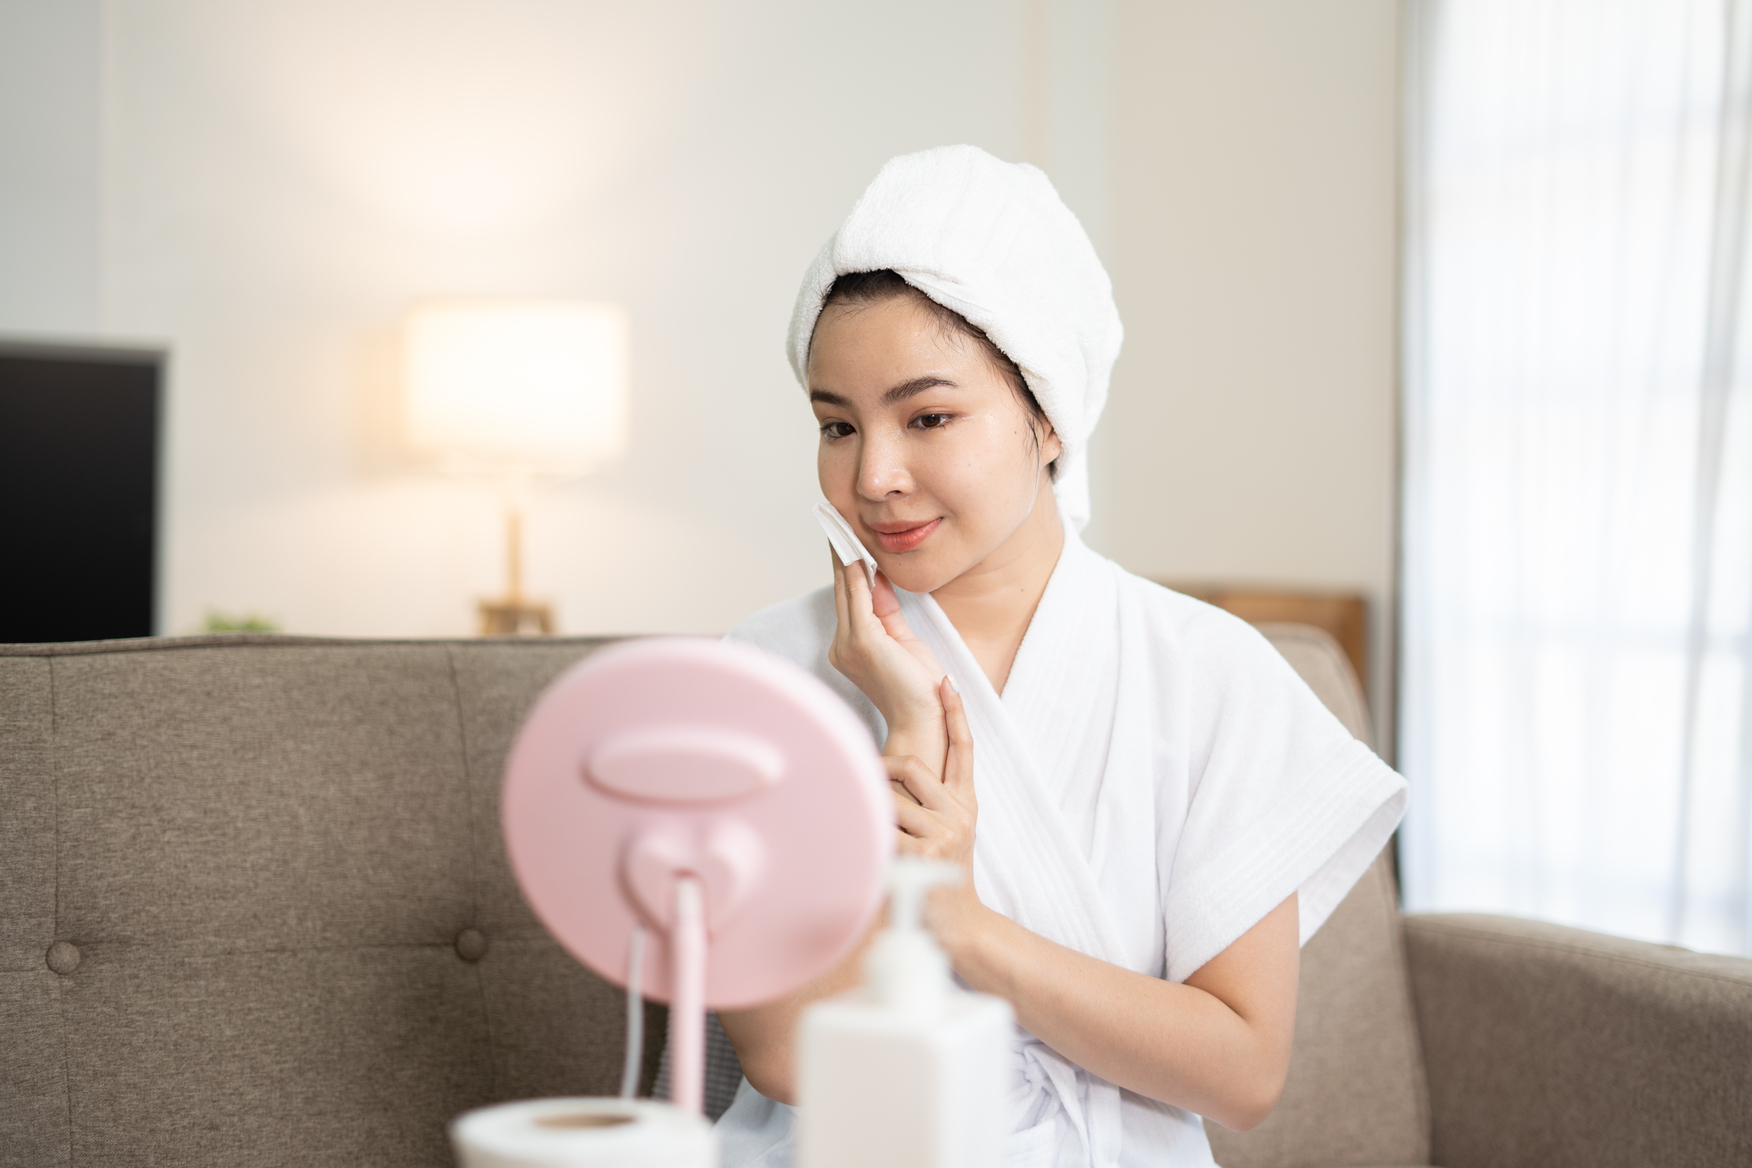
Step 1: Cleanse Your Skin
Start with freshly cleansed skin. Remove any oil, dirt, and makeup to give the patch the best chance to stick.
Step 2: Apply the Pimple Patch Gently
Be careful not to touch the adhesive side of the patch – we don’t want it contaminated before it gets to work. Just pop it right over the blemish.
Step 3: Let It Work Its Magic
Leave the patch on for 8–12 hours or overnight (perfect for those beauty sleeps). Trust the process – it’s doing what it does best behind the scenes.
Step 4: Remove & Replace
Once the patch loosens or turns white, it’s time to remove it. Don’t reuse the patch – just discard it and apply a new one if needed. Always apply to dry, clean skin to keep the area hygienic.
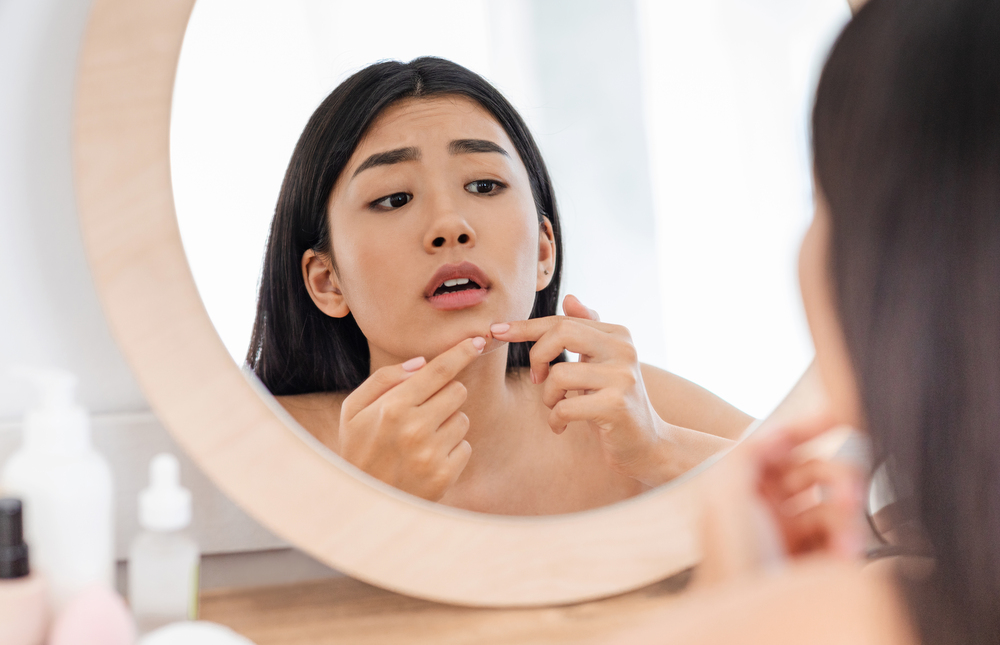
Pro Tip: Don’t rush! We know how tempting it is to want instant results, but the key here is patience. These patches are designed to work gradually and effectively – you just have to let them do their thing. Don’t peel them off early to check how it’s going; you might disrupt the process.
Choosing the Right Pimple Patch Based on Acne Type
Here’s a handy guide that will help you choose the right patch for your acne type:
| Acne Type |
Recommended Patch |
| Underground Pimple | Acne Patch Plus / Clear Patch Intensive
Microdart Patch |
| Surface Pimple | Acne Patch / Clear Patch Original |
| Dark Spot |
Spot Brightening Patch / Clear Patch Brightening |